In this page we’ll do all the setup necessary to write and run Python programs in EV3Sim on our computers.
It shouldn’t take too long, and you’ll run your first Python program by the end of it!
Why VSCode?
All python programs are written in plain old text, just like a bunch of other documents on your computer, so why do we need a special program to write Python code?
The main reason having a dedicated editor like VSCode is important is because VSCode knows you are writing Python code, and can give you tips, autocompletes and other things accordingly. It will also highlight / colour your text so that it is easier to understand.
The reason we pick VSCode, and not another dedicated code editor like PyCharm is because it has a few integrations with EV3Sim, and also has a useful extension for connecting to EV3 Robots.
Installing VSCode
Download and install VSCode from here. After installing, we also need to install some extensions.
Open VSCode, and then press the extensions  button on the far left. In the search bar, type
 MHSRoboticsExtensions. An extension should show up, click and install it.
That’s all the setup you need for VSCode, we’ll start using VSCode and the bottom of this page.
Why EV3Sim?
Python and programming can be very powerful tools, but a lot of the most basic tools you can use are a bit bland. Most beginner python programs are simple things like printing messages to the screen, or doing some maths.
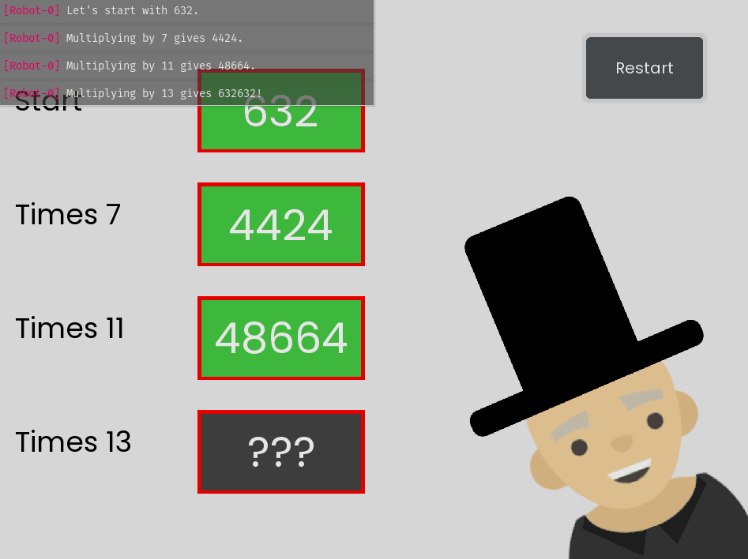
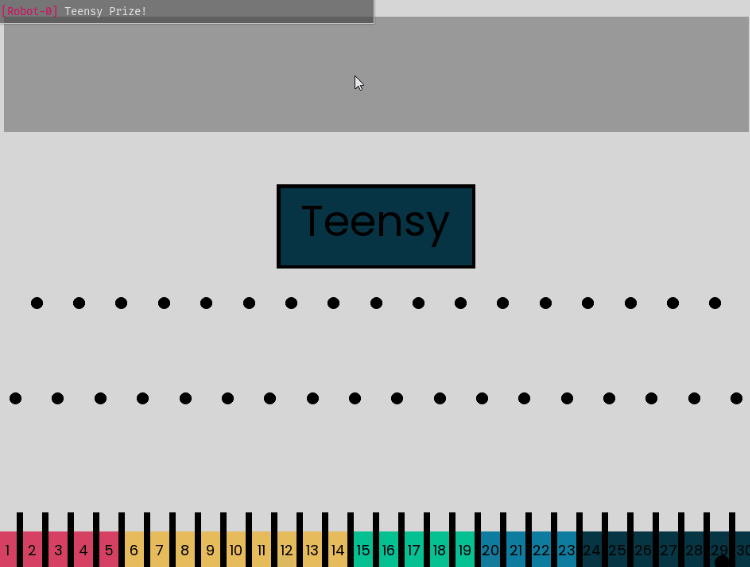
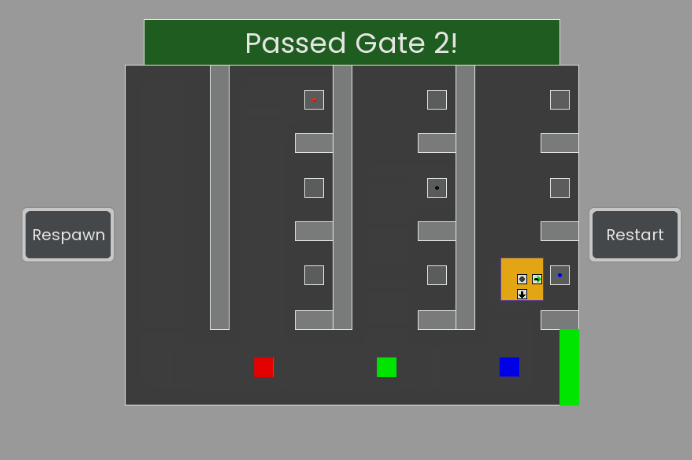
EV3Sim allows you to use those basic Python programs to solve puzzles, and create robots:

So even if you plan to use a real life EV3 Robot for these workshops, installing EV3Sim is worthwhile.
Installing EV3Sim
Installing EV3Sim is suuuper simple, if you are on windows.
Windows
Click here and download installer.exe, then run the file.
If an antivirus of some kind pops up, you can safely ignore the warnings and continue.
Then just follow that prompts and go make yourself a drink while EV3Sim installs.
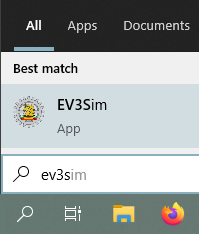
And that’s it! EV3Sim should now show up in your Start Menu, at the bottom left:
Mac / Linux / Potato
Installing on any other operating system is currently a bit of a pain since we need to install Python separately.
First install Python from here, and while installing make sure to click “Add Python to PATH”.
You can ensure this has worked by opening Terminal, and then typing python3 and pressing enter. The result should look like this:

You’ll need Python 3.9 or higher for ev3sim however. After this, close and reopen a new Terminal. Then, to install ev3sim, type out python3 -m pip install ev3sim, and press enter.
Now, if you type ev3sim in the Terminal, and press enter, it should open ev3sim.
Start Coding
First, let’s open EV3Sim and get an idea of what we can do.
Bots
Before we do anything else let’s design our first robot. To do this, press the “Bots” tab, and then click the plus icon on the bottom left.
Now you can fully customise your robot. You first need to pick a baseplate, where all of your components will sit.
After that you can add shapes to your robot.
You can use the select mode (Cursor icon) to change colour, size and all sorts of stuff for individual shapes.
Customise your bot and make it your own, you’ll be seeing it a lot over the next few pages!
After pressing Create, select “Python”, and then name your bot.
Writing some code
Now, we can add some brains to your bot!
Go back into the “Bots” menu (You can press escape to go back in EV3Sim) and click on your newly created bot. You should find that two buttons on the right light up!
The pencil icon will allow you to edit your robot, adding and removing shapes.
The code icon will allow you to view and edit the “brains” of your robot, a Python file, in VSCode.
Click the code icon, and copy (Control + C on your keyboard) and paste (Control + V) the following code into that file:
1
2
3
4
5
6
7
my_number = 3 + 4
my_name = "Mr. Robot"
message = "You've done everything correctly!"

print("Hello from test.py!")
print(message)
print(f"Hi {my_name}. Do you like the number {my_number}?")
After that you should press Control + S on your keyboard to save. You don’t need to understand what this code does for now.
Simulating time!
Now that the brains have been made, let’s try using our robot!
Press Escape in EV3Sim to go back to the main menu, and press the robot icon next to the Soccer button. This should open up a list where you can select the bots to simulate.
Now, click on your bot, then press “Select” and then “Done” (wait a bit, this can be laggy), then press “Soccer”.
You should find your robot sitting on the soccer field, and some messages should be shown on the console!